The Worst Bracket 4 Deck Ever: Kagha, Shadow Archdruid Deck Tech
You might want to find some eyebleach, like videos of cute kittens or Brian Kibler doing literally anything.

Hey there, readers. As a result of a poll conducted on the EDHLAB Discord server, I was asked to build a Kagha, Shadow Archdruid deck at any bracket from 2 to 4. I would describe Kagha as "mid," as I hear the kids say; I decided to challenge myself a little bit. And so, this pile of cardboard forgotten by God himself was born after many nights of not sleeping and the fumes of a bucketload of Elmer’s glue. Let’s get into it.
Would You Still Love Me if I was a Worm?
How do you win with a deck that has 60 lands in it, you may ask? The answer is quite simple, really: through a convoluted combination of combos and synergies that would be achievable in a much shorter timespan with a much better commander. But that’s an attitude for losers, and this deck is out to win it all. So let’s dive into how the deck works.

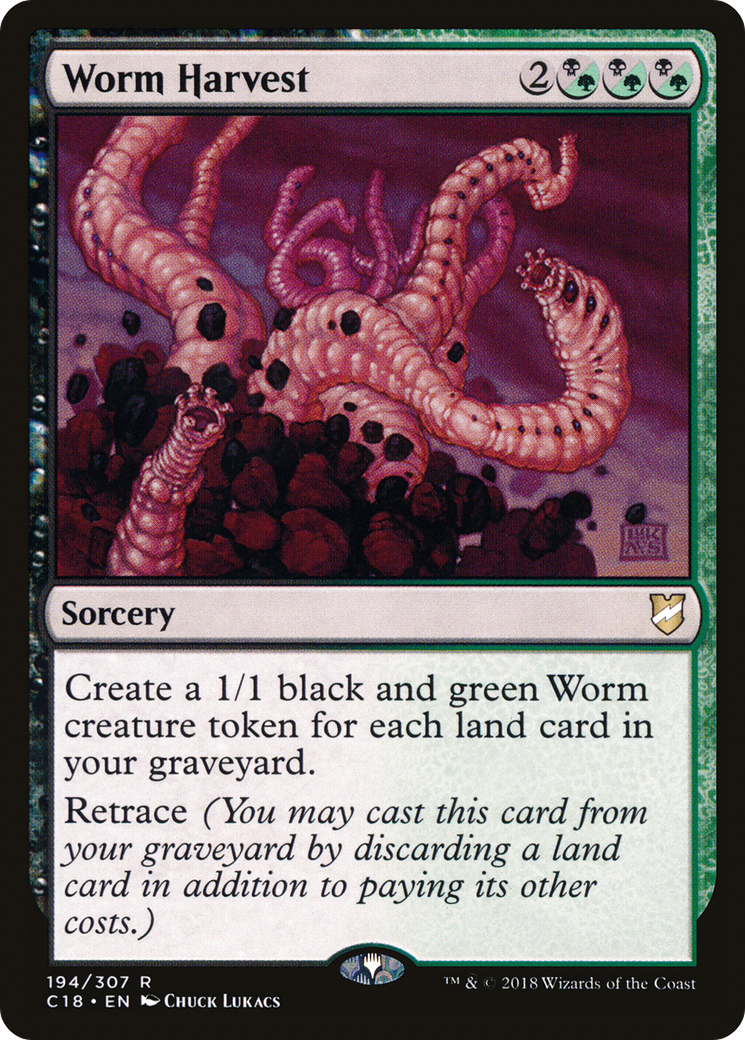
Some of you may not love this deck, even if it isn’t a worm, since it does use them. Worm tokens, to be precise, generated by Worm Harvest; with infinite mana, it is possible to infinitely generate Worm tokens with The Gitrog Monster on the board. The combo needs the following pieces:
- Worm Harvest in the graveyard or Ayula’s Influence on the board
- The Gitrog Monster and Skirge Familiar on the board
- Dakmor Salvage in hand
- Crashing Drawbridge or Concordant Crossroads to give your very wriggly (or very hairy) army haste
- A shuffler such as Gaea’s Blessing or Kozilek, Butcher of Truth
With Worm Harvest in the graveyard or Ayula’s Influence on the board and Skirge Familiar on the battlefield, you have access to a dedicated land discard outlet that creates a board presence and that will trigger the big bad frog. Unlike most traditional The Gitrog Monster cEDH combo lines, this deck can actually utilize a full graveyard, since you’ll get Worms equal to the number of land cards in your graveyard. Because of this, there is a configuration of triggers that you should know. Fortunately, the guys working on the Collaborative Gitrog Primer have this covered already:
Procedure:
• Discard Dakmor Salvage to your discard outlet, triggering The Gitrog Monster.
• Resolve the draw trigger, choosing to replace the draw with Dakmor Salvage's dredge.

Two cards have hit the yard the moment you chose to dredge and have one of six configurations:
1. Two non-lands
2. Two lands
3. One land and one non-land
4. One land and one shuffler
5. One non-land and one shuffler
6. Two shufflers

"shuffler" refers to either Kozilek, Butcher of Truth, Ulamog, the Infinite Gyre, or Gaea's Blessing

If 1: No triggers, discard Dakmor Salvage again.

If 2 or 3: A Gitrog trigger goes on the stack - resolve it and continue.

If 4: A Gitrog and shuffle trigger each go on the stack - stack them so the draw resolves first, then shuffle and continue.

If 5 or 6: One or two shuffle triggers go on the stack - let them resolve then continue. Note: if this happens your first dredge into the deck, you have to keep going to draw at least once before shuffling to avoid slow play accusations.

Once you have several lands in hand, you can start discarding a few of them to increase the concentration of lands in your library and make things go a bit faster. When you get low enough on cards left in your library, around 10, start stacking draw triggers rather than drawing. This is again to avoid any possible slow play technicalities where you fail to actually net any draws when you're low on cards and about to deck yourself. Once you have enough triggers, resolve them all and discard a titan repeatedly to dissipate extras.
With that headache taken care of, you now have a board full of disgusting little critters (or friendly and hungry Bears) that are all suffering from a bad case of summoning sickness and a mostly-empty library. So how is this new headache solved?

Since you’re not in red, haste enablers are in short and very janky supply. Concordant Crossroads does the job well enough, but without it, you’ll have to get creative. Crashing Drawbridge is the only mass haste enabler available to you, but it itself has to tap. Mogis’s Marauders can grant haste to a number of creatures equal to your devotion to black, but you really only need to give it to the artifact creature to transfer haste to the rest of your board afterward. There’s also Swiftfoot Boots and Lightning Greaves, but since they are not creatures, these will be a little bit harder to recur without taking the time to go through the loop several times to perfectly sculpt your hand.
These are also useful if you haven’t yet been able to mill yourself into a ton of lands or the Gitrog combo yet, as the deck contains Hermit Druid and only a single basic land. With the Marauders, you can give the recluse haste to mitigate its primary weakness of speed. While it’s a bit of a gamble if the basic Forest is high up in the library, you can make use of Abundance to try and push it to the bottom of your library if you see it while digging for a nonland card, or you can just activate the Druid once you’ve confirmed that the basic is no longer in your library. Just be careful with your shufflers — try to only use the Druid if you know exactly where those are.
What does all this milling achieve, prior to finding the Gitrog line?
Since you’re looking to churn through this deck as quickly as humanly possible, you need ways to pull things out of the graveyard in between shuffler triggers. This is where Kagha's second ability will help you recur the essential pieces of the deck. Dread Return and Dryad’s Revival are also both capable of pulling cards out of the graveyard, with the added benefit of doing so while being in the graveyard themselves. Dread Return is greedy, since you’ll already need some tokens created by Worm Harvest or Ayula’s Influence to drum up some sacrifice fodder, but with flashback, Dryad’s Revival can pull a key piece of the puzzle out of the graveyard even if you’ve milled the Revival itself.


Buried Alive, Entomb, and Dina’s Guidance are just some of the ways you can get creatures into your graveyard on direct order from your library, and the regular suite of tutors makes an appearance in this deck as well. These will allow you to easily put your combo pieces into the graveyard to be cast with Kagha's static ability.
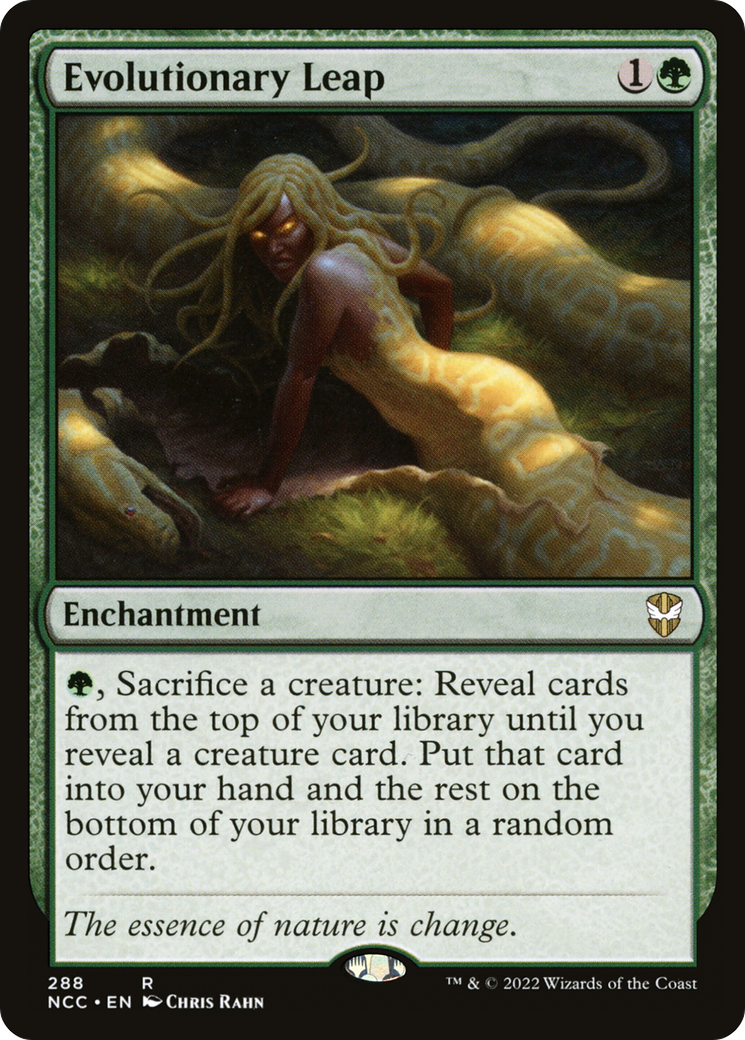
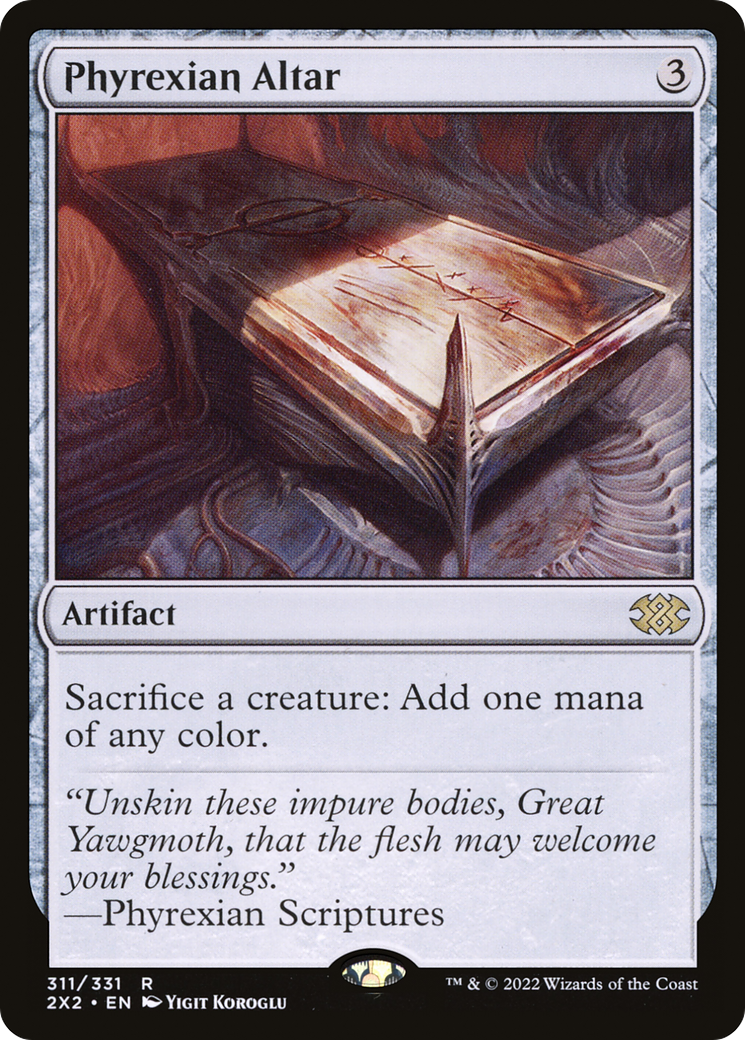
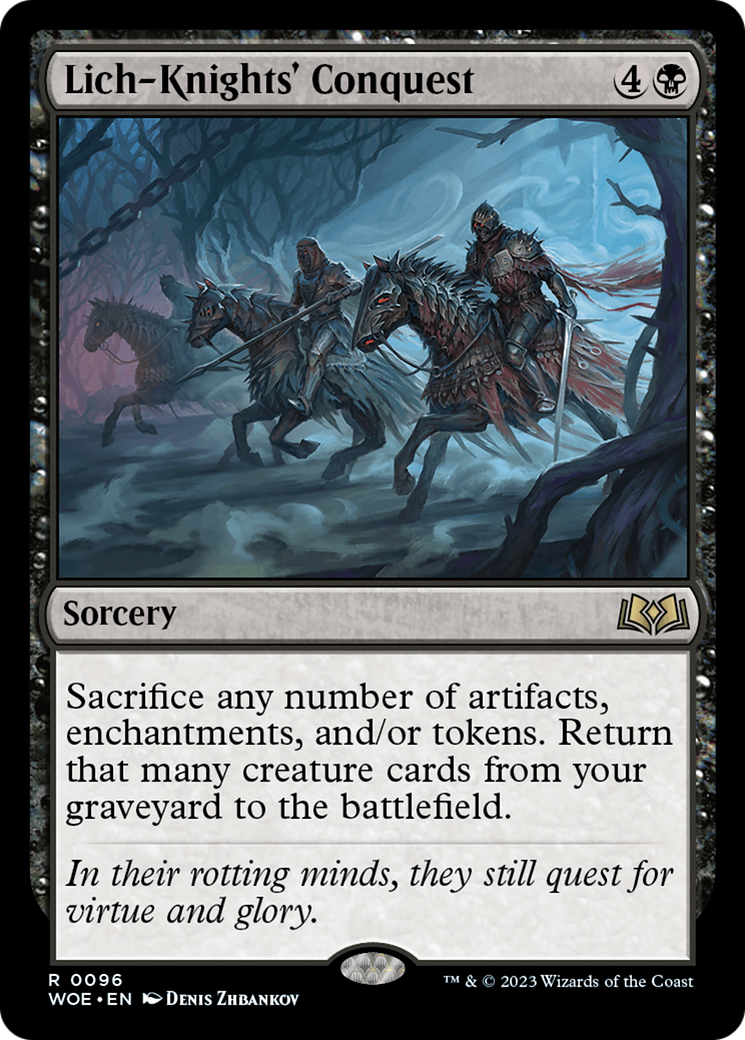
This deck’s token generation can serve as a little bit of extra glue. Evolutionary Leap digs deep into your library to pull your combo pieces out, while Lich-Knight's Conquest reanimates any of the essential pieces that have gone to the graveyard, and Phyrexian Altar can give you the mana you need to cast any essential spells in your hand. These pieces offer flexibility and utility, since the deck wants a few different ways to assemble such a complicated combo setup, but they’re all very powerful in their own right.

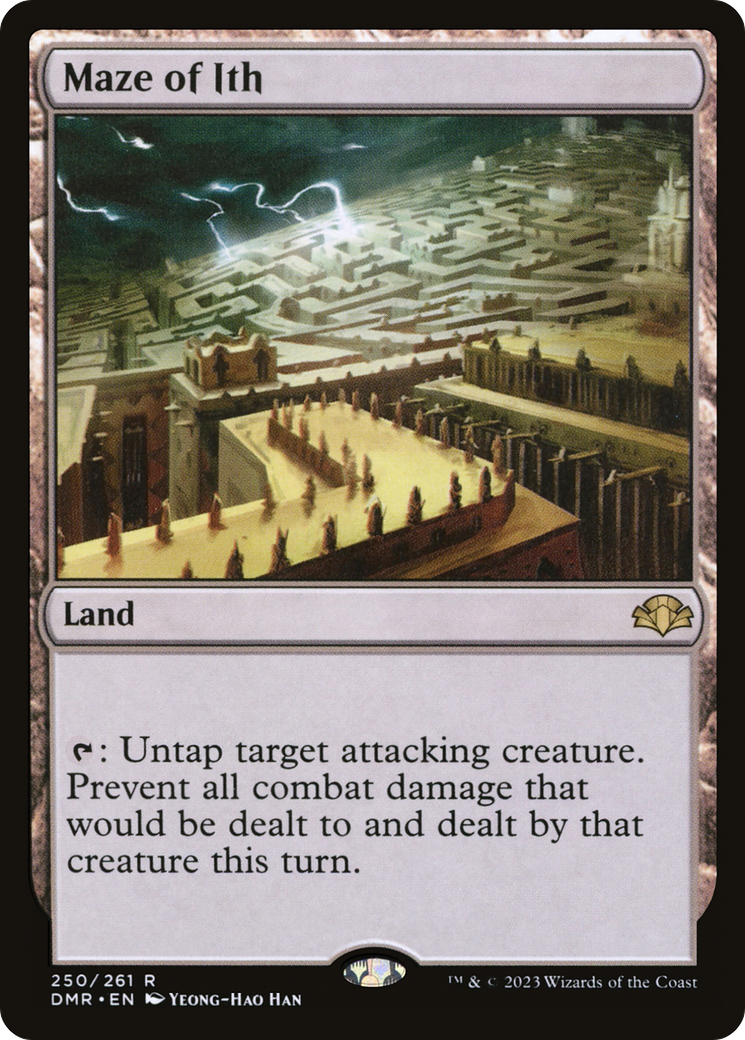
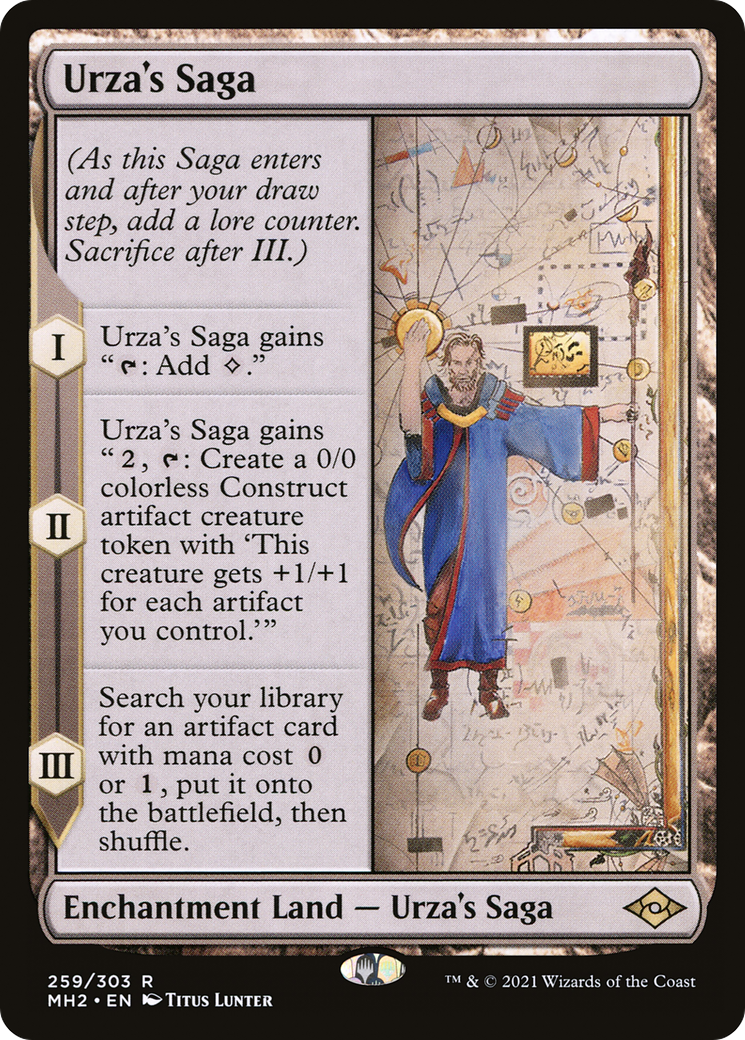
Lands make up a vast majority of this decklist; while perusing it, you’ll run into a bunch of utility lands that can tutor out combo pieces or help you stay alive a little longer. Field of the Dead gives you some chump blockers if the game goes long, while Maze of Ith keeps more dangerous singular card threats off your back. Urza’s Saga is capable of finding Expedition Map, which can subsequently tutor up Dakmor Salvage. I hope you like shuffling, because this deck does a whole lot of it.
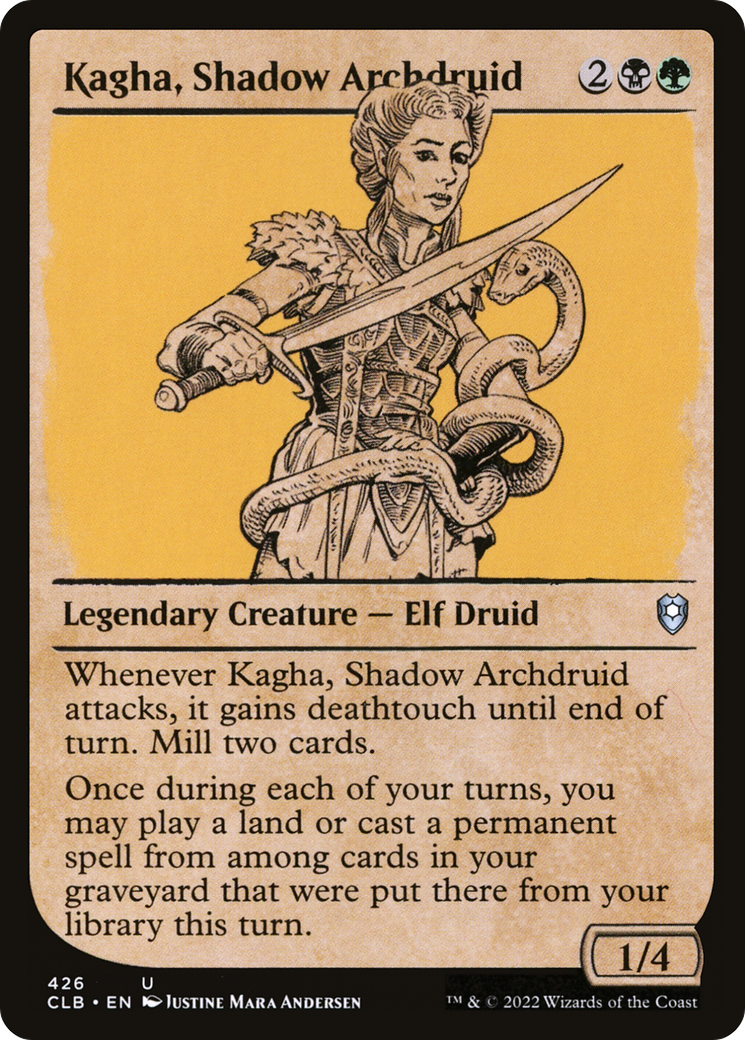
In the process of all the milling, Kagha fills the role of a fixer for this deck. She can help you cast any permanent or play any utility land from your graveyard you may not want to have milled. Her attack trigger also lets you mill through your library a little bit faster as well.
The main thing to keep in mind with this deck is that it’s extremely risky. Since there are two shuffler effects in the deck, it’s entirely possible that you mill one of them before you’ve had time to set yourself up to properly combo out. While Abundance and Old Stickfingers can skip through large chunks of lands to help you out a little bit, the deck is still going to flop on occasion. That being said, it’s extremely fast-paced and well-positioned to give the appearance of competing at Bracket 4 power levels. Just be prepared for your wins to be extremely stressful.
Does this steaming pile of worm food appeal to you? Copy my list easily with EDHLAB and give it a test run in our Multiplayer mode. Think that it doesn’t function well in Bracket 4? I’d love to hear your thoughts on that too! I don’t normally build or play Bracket 4 decks, so this was a novel experience for me. I hope you enjoyed this deck tech, or at least are actively enjoying the thought of me getting stomped by fringe cEDH decks with turn 3 combos!
The Best Way to Play Commander Online
For the easiest way to play Commander online with your friends or meet new opponents on the field of battle, use EDHLAB.gg's Play Online feature!
If you know the secret to make this deck a real Bracket 4 contender, come join our Discord server and roast the hell out of me by pinging @shadedfall because I think I drove myself insane on this brew. Happy milling!
EDHLAB maintains a strict policy against the use of generative AI in the production of creative media. All blog articles and images hosted by EDHLAB are made without the use of generative AI.