Budget Brew-tality: Dance of the Elements Precon Upgrade Guide
Building powerful decks on a tight budget is easy, you just need one of the strongest face commanders ever put in a precon.

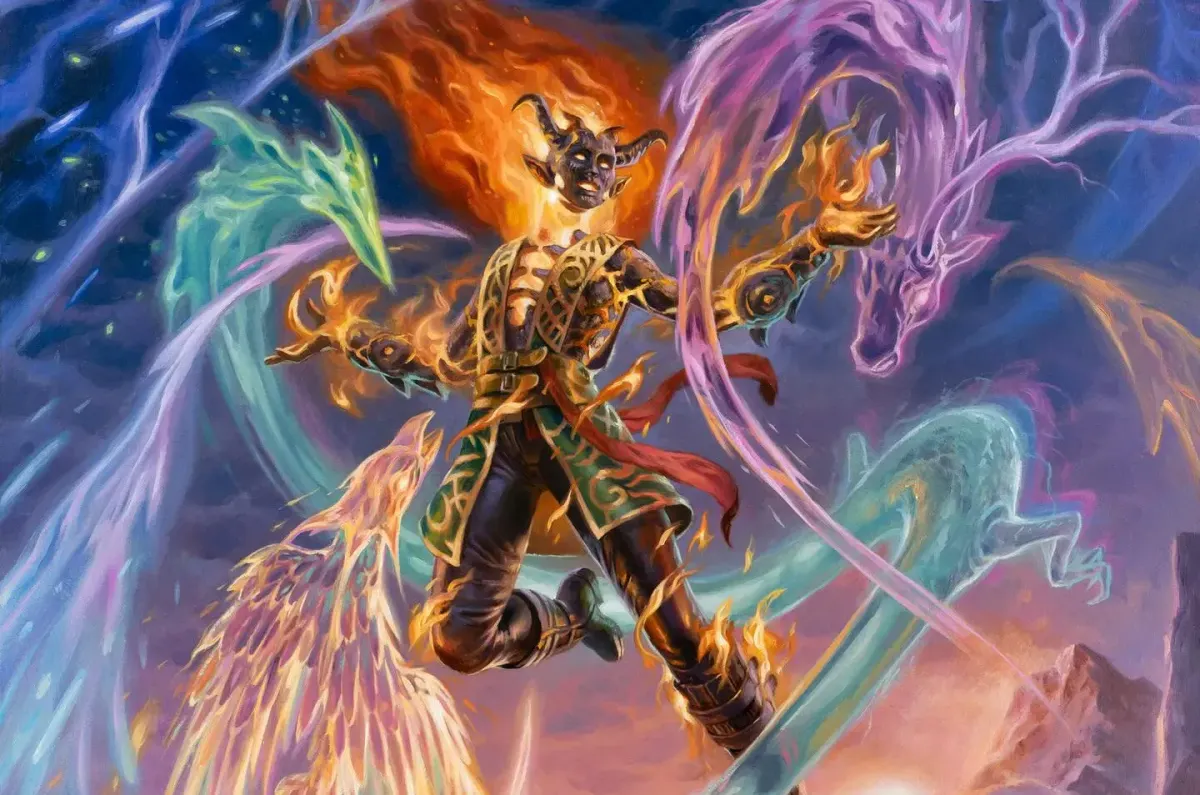
Today’s entry of Budget Brew-tality features the high-powered Lorwyn Eclipsed face commander, Ashling, the Limitless. Though I’ve seen this particular precon priced as low as $28 in recent weeks, you can find it online for about $35 USD in most places. With an upgrade budget of a shockingly low $14.30 at time of writing, you can be the owner of your very own high-powered Bracket 3 combo deck for just $49.30, and an overall deck cost of just $36.85 if you just want to buy the singles. If you’re a hardcore spending-averse player, this brew is just the one for you.
Here’s what comes out of the Dance of the Elements stock box:
As we’re a few months out now from the release of Lorwyn Eclipsed, this deck has been covered front and back by upgrade guides, and Ashling herself has been dissected in high-level analyses and classified as “kill-on-sight” by most of the community. This status is certainly warranted — she acts as a solid discount option, Panharmonicon, haste enabler, and dies trigger doubler (albeit delayed) all by herself and lives in the command zone, and this isn’t even considering that her own trigger to create a token copy of an Elemental is itself doubled via Roaming Throne, or Twinflame Travelers if you like saving money.
Wood-Fired Sauna
With all of these traits in consideration, it makes the most sense to play Ashling as a fast-acting catalyst for infinite combos. This will only require slight tweaks to the decklist. Ashling is our first combo piece in the command zone, Greenwarden of Murasa is the other principle combo piece present in the deck, though we’ll need to retrofit the list with a couple of extra cards to make the loop happen. This combo is a little complicated, so I’ll explain it step-by-step to make sure you know exactly how to execute the deck’s gameplan. Let’s have a look:


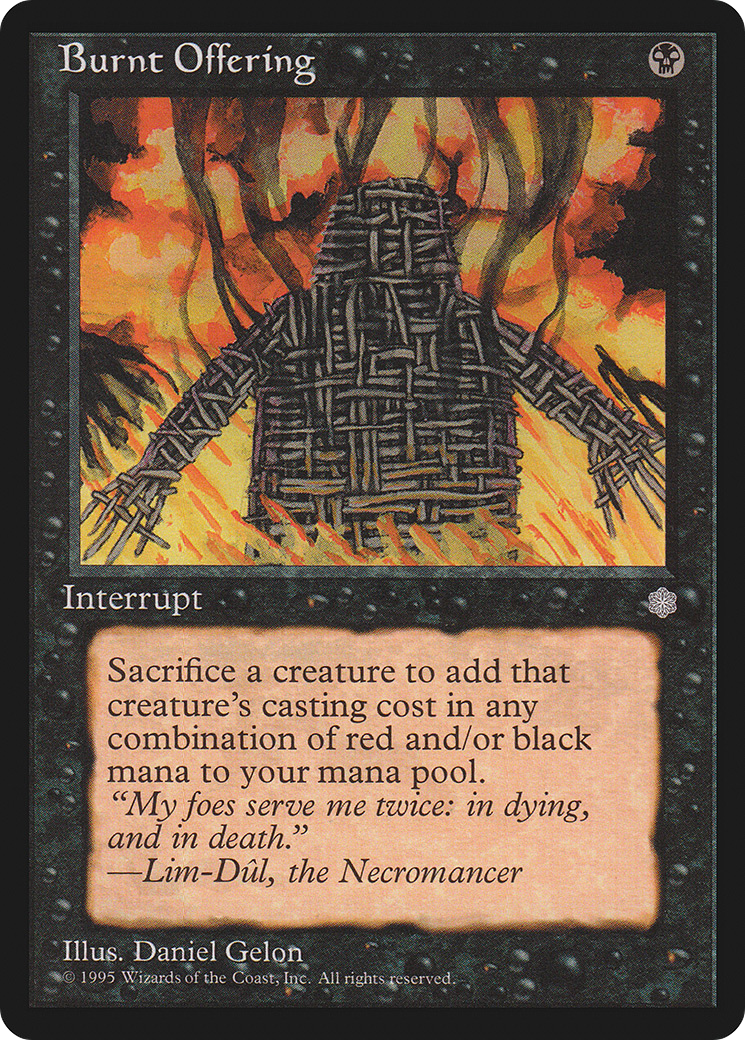
Though this combo is relatively simple in terms of input and output, mastering the complicated order of triggers is vital to ensure that the interaction can loop. First, Ashling and Greenwarden of Murasa have to be on board, and you’ll need Burnt Offering ready to rock in your hand. Here is the exact sequence:
- Cast Burnt Offering and sacrifice Greenwarden, triggering Ashling’s static ability and the Greenwarden's own trigger. It isn't relevant to this combo and isn't mandatory so ignore it.
- Ashling's static ability trigger resolves, creating a token copy of the Greenwarden. Its enters trigger lets you put the Greenwarden in your graveyard back to your hand.
- The stack is now empty, and you have six mana in a combination of red and black. Make sure to create at least one black mana and reserve it.
- Use four of the remaining five mana to evoke the recurred Greenwarden back to the battlefield. When both the enters trigger and the sacrifice trigger from evoke go on the stack, make sure to resolve the Elemental's enters trigger first, targeting Burnt Offering.
- Once that has resolved, Burnt Offering is in your hand and the Greenwarden is in play with the evoke trigger still on the stack. Since Burnt Offering is an instant and you held priority, you can cast Burnt Offering before the Greenwarden is sacrificed to the evoke trigger, restarting this sequence at Step 1.
You can loop this sequence as many times as you want, generating an arbitrarily large amount of red or black mana one pip at a time, and creating an equally large number of hasty token copies of the Greenwarden.
Additional Fuel
Now that you understand how to execute this deck’s game-winning infinite combo, let’s go through some of the important pieces that compliment it. First, the secondary infinite combo. This one is less complicated, but significantly more fragile and in need of more support in order to actually win the game. First, let’s explore the loop setup.
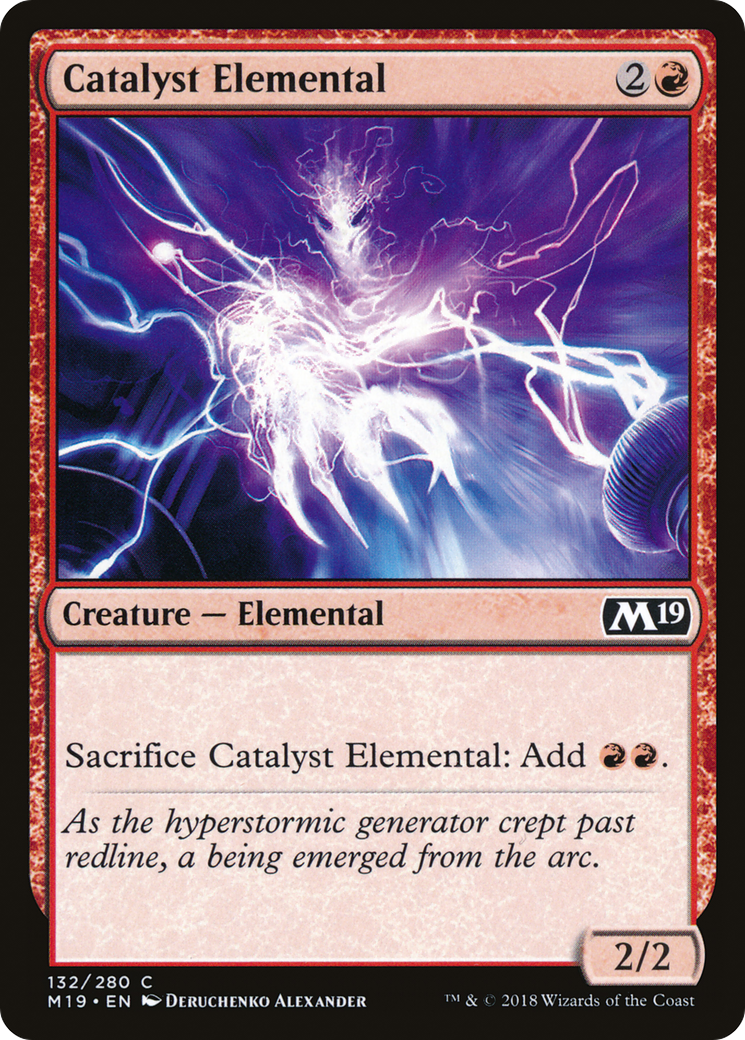
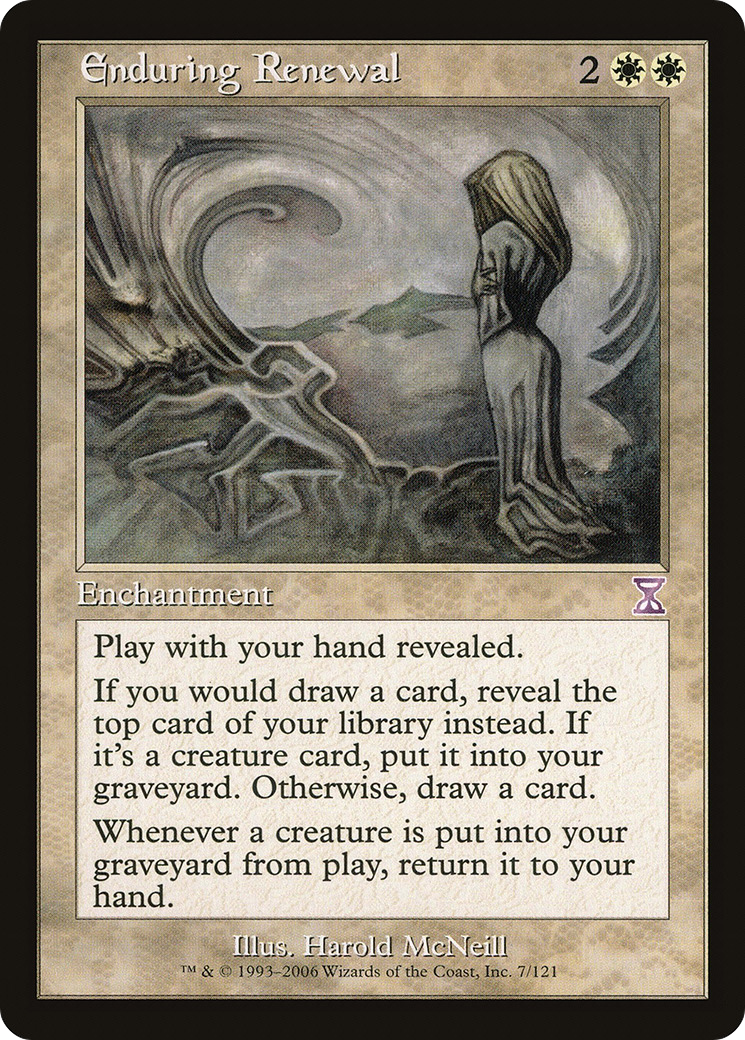
With Ashling, Catalyst Elemental, and Enduring Renewal on the battlefield, you can execute this loop. Sacrifice the Elemental, adding two red mana and triggering Ashling to create a token copy and the enchantment to return the nontoken Elemental to your hand. From here, you only need to sacrifice the token copy to add two more red mana, recast the Catalyst Elemental for three of the four available, and rinse and repeat.
The issue with this combo is that any method you use to draw cards will dump any creatures you draw straight into the graveyard by default, and none of the rest of the cards in the library can win the game with 1,000,000 red mana. You’ll need some additional setup to address this problem. Fortunately, any of these payoff pieces also interact with the main combo line, so we’ll only need to cover a few wincons instead of packing more specific ones just for Catalyst.
Rising Temperature


Champion of the Path, Molten Gatekeeper, and Witty Roastmaster are all impact effects — cards that do an impression of Impact Tremors — that will ping your opponents to death one damage at a time. This is strictly necessary for the Catalyst loop, but is only necessary with the Greenwarden loop if you’re in a situation where an infinite token army doesn’t win the game, such as when an opponent has Ghostly Prison, Propaganda, or any other effect that will deter you from attacking them with a large number of creatures.

An honorable mention goes to the mean red-and-green angry jellybean himself, Omnath, Locus of Rage, which will hit any target with a Lightning Bolt any time one of your Elementals dies (which they will be doing a lot).
Unfortunately, this is the extent of win conditions afforded to the Catalyst loop. In theory, you can still safely draw the rest of your deck with Risen Reef and include a different way to win with infinite red mana, but this specific upgrade guide focuses on the Greenwarden loop as the primary win condition as it is significantly more flexible, on account of creating infinite tokens and generating infinite enters and dies triggers and either red or black mana. Now, let’s explore some of the other ways you can utilize the Greenwarden line to win.
Boiling Over


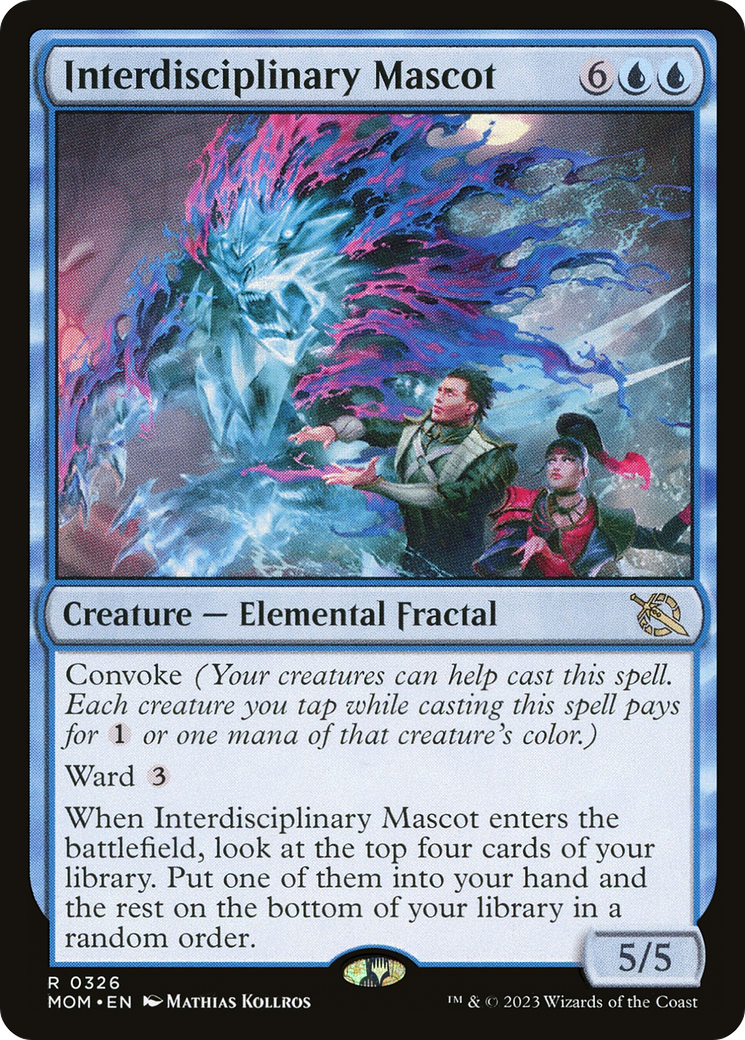
First, you’ll need a way to draw out the rest of your deck to find the right spells. Eshki, Temur's Roar and Garruk's Uprising draw cards from big creature spells and Interdisciplinary Mascot lets you filter through cards on top of your library for cheap with evoke. Keep in mind that while Eshki will burn your opponents to ash with the conditional second effect, the trigger to draw a card is NOT optional, so you will be forced to draw cards whether you want to or not. This is important if an opponent has cast a protection spell like The One Ring or Teferi’s Protection which will prevent your damaging abilities from reducing their life total to zero. Fortunately, this upgrade comes packed with the infamous Laboratory Maniac, so you can just win the game with an empty library instead of forcing your opponents to lose. Just remember that the infinite mana you generate is only black or red and Ashling only provides evoke and token copies of Elemental creatures, so you’ll need at least one blue mana open to cast Labman.
Sweat it Out

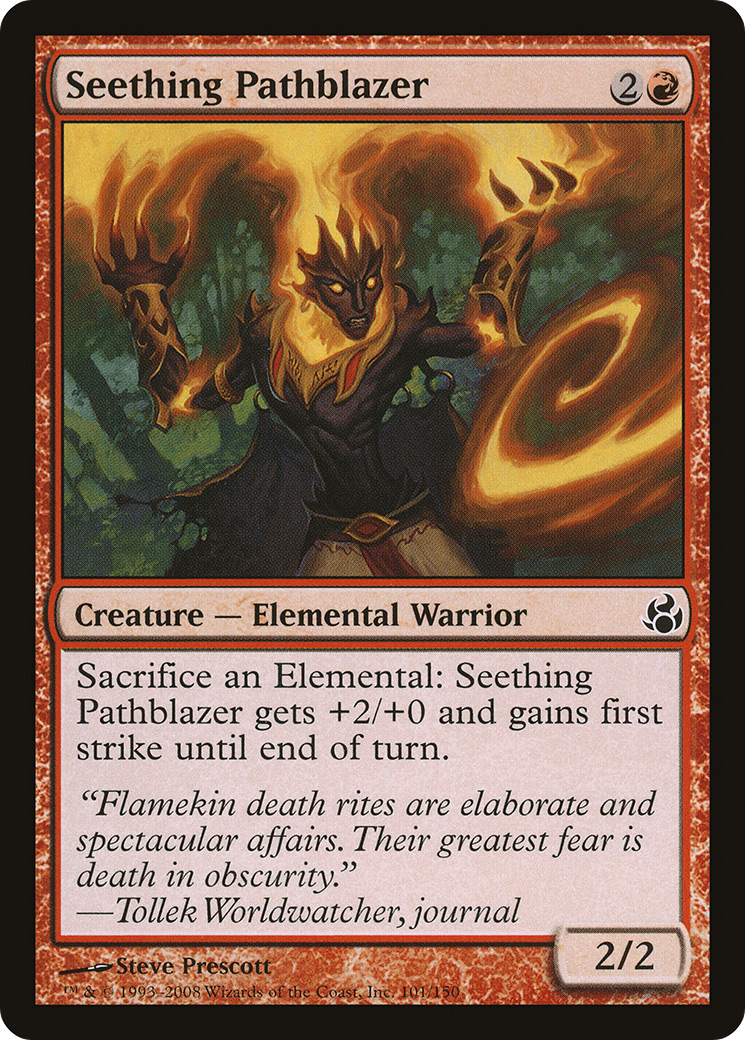
Once you’ve banked your infinite mana, there are other ways to utilize the Greenwarden loop. With Seething Pathblazer as a sacrifice outlet instead of Burnt Offering (once you’ve already banked infinite mana, that is) and Graveshifter available, you can modify the combo by substituting Burnt Offering's role in the line for Graveshifter to infinitely recur creatures from your graveyard, in most cases those sacrificed by the Pathblazer. This lets you infinitely reuse any enters trigger on a creature you want. Fury can raze your opponents’ creatures to the ground, Endurance can reset your library if you’ve lost an important spell, and Titan of Industry can remove any problematic artifact or enchantment that might be stymieing your path to victory. You can also use Omnath, Locus of the Roil as a burn spell, Impulsivity to cast every instant and sorcery in a graveyard, or draw your deck with Mulldrifter or Shinestriker if you don’t have one of the prerequisite draw engines on board.
A Steamy Vision


Now that we’ve exhausted most of the conventional uses of the deck’s infinite combo lines, let’s explore some of the utility and consistency pieces that help the deck run more smoothly. Fierce Empath fetches Greenwarden for you, and Waterlogged Teachings fetches Burnt Offering — quick and simple. Just make sure that if you’re telegraphing the combo to your opponents, you have a protection piece handy to prevent them from disrupting your combo.
Healing Heat

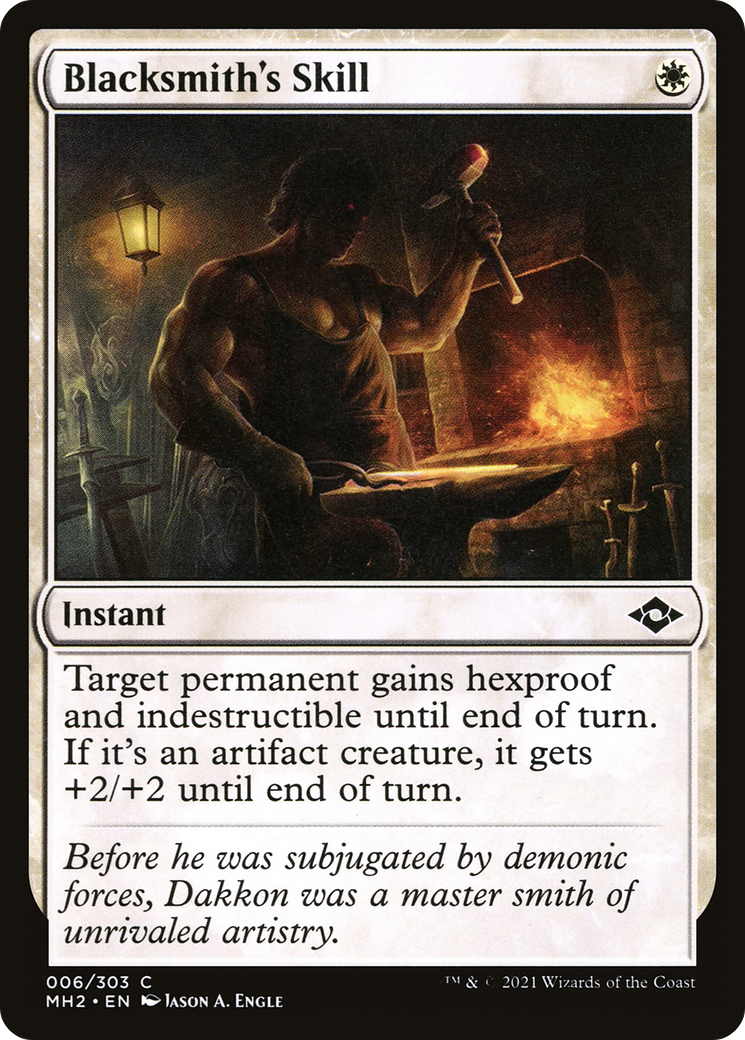

This upgrade adds a few ways to protect Ashling or one of the combo pieces. Blacksmith’s Skill and Defend the Rider are solid budget options to give one of the essential components hexproof and indestructible, while Negate is an acceptable catch-all to stop other forms of interaction. Just bear in mind that you need to have a lot of mana available to cast these spells, and the initial setup for the combo lines are mana-intensive. Fortunately, there are solutions available for this.
Honeymoon Discount

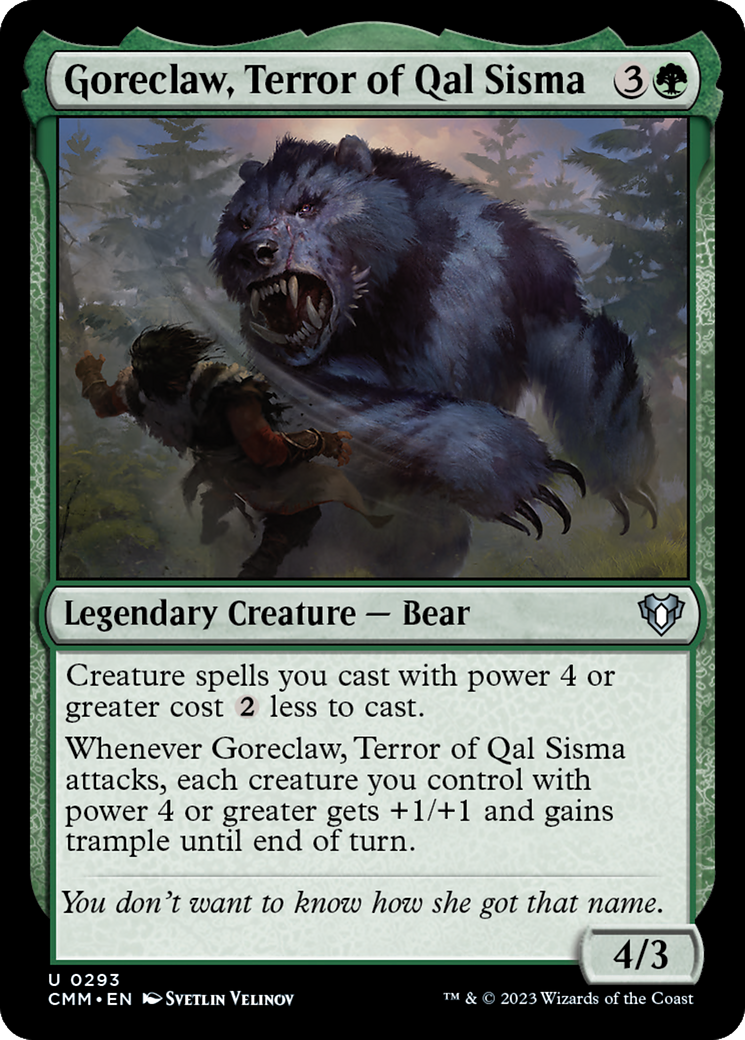
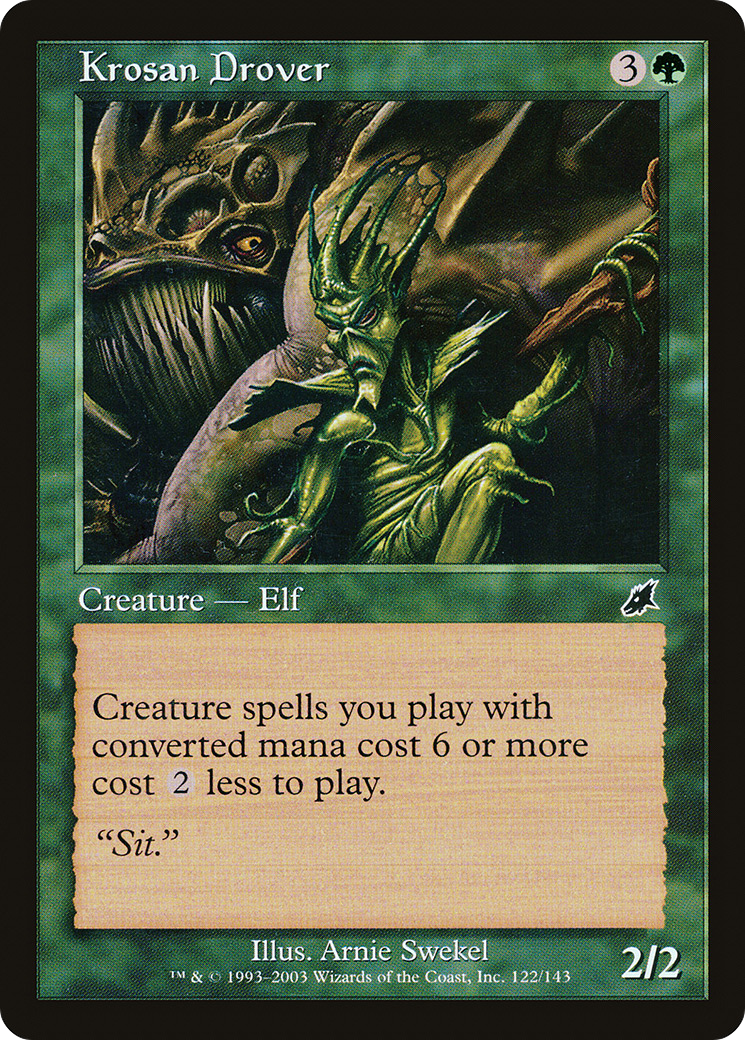
In addition to conventional ramp pieces like Wild Growth and Utopia Sprawl, this deck also features several cost reducers that make the evoke ability granted by Ashling more mana-efficient. Heartless Summoning, Goreclaw, Terror of Qal Sisma, and Krosan Drover all reduce the cost of creature spells by two mana, with Goreclaw and Krosan Drover caring about large creatures and Heartless Summoning debuffing your creatures slightly in exchange for a cheap mana value. In cases where you need the extra mana free to hold up your protection spells, this is extremely important to your win condition, but it also allows you to play the deck in a more conventional manner as well. Ashling is still extremely potent, even without the infinite combo lines, and playing as though it’s business as usual is still a viable option until you gather the pieces of your combo.
Back to the Cold
With all of the essential upgrade pieces covered, it’s time to say goodbye to several hits from the stock list. You might notice that some of the more powerful cards for the deck’s conventional strategy have departed; this is an unfortunate necessity on the path to greatness. As mentioned, you can still run this deck as a run-of-the-mill token copy value pile, but your best chance of victory is to aim for the infinite combo, especially without such heaters as Yarok, the Desecrated, Kindred Summons, and Descendant’s Fury. That being said, here are all of the cuts:
- Abundant Growth
- Belonging
- Cream of the Crop
- Crib Swap
- Cultivate
- Descendants' Fury
- Distant Melody
- Eclipsed Flameki
- Elemental Spectacle
- Haunting Voyage
- Hoofprints of the Stag
- Ingot Chewer
- Kindred Summons
- Kodama's Reach
- Mass of Mysteries
- Muldrotha, the Gravetide
- Realmwalker
- Return of the Wildspeaker
- Sandsteppe Citadel
- Shimmercreep
- Shriekmaw
- Springleaf Parade
- Thriving Bluff
- Thriving Grove
- Thriving Heath
- Thriving Isle
- Thriving Moor
- Timeless Lotus
- Vernal Sovereign
- Yarok, the Desecrated
After saying goodbye to our funky Elemental friends, here’s the final version of the Burnt Offering and Greenwarden of Murasa combo deck Wood-Fired Sauna:
Jump in the hot tub and play this deck at a Bracket 3 table on EDHLAB’s Multiplayer mode or solidify your execution of the complex lines in the Playtester!
The Best Way to Play Commander Online
For the easiest way to play Commander online with your friends or meet new opponents on the field of battle, use EDHLAB.gg's Play Online feature!
Join our Discord server and have a chat with us about your favorite new brew!
EDHLAB maintains a strict policy against the use of generative AI in the production of creative media. All blog articles and images hosted by EDHLAB are made without the use of generative AI.